
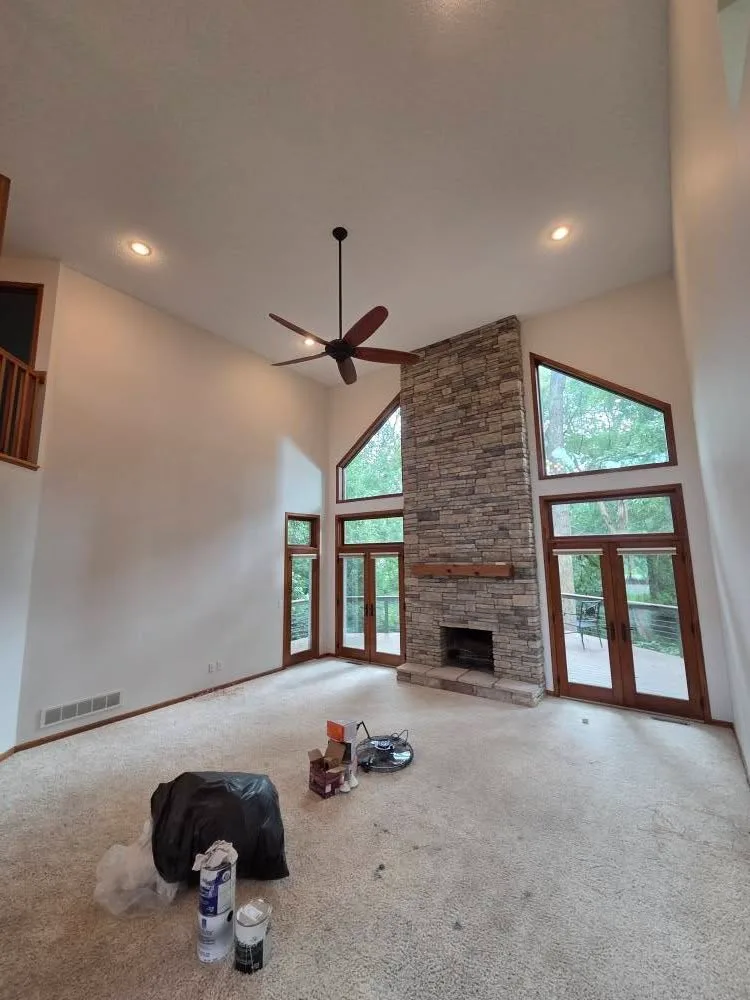
Textured "popcorn" ceilings were common for decades because they hid imperfections and deadened sound. Today they collect dust, cast shadows and make a room feel dated. The good news: removing one is very doable, and the result is one of the biggest upgrades you can make for the money. This guide walks through how the job works so you can decide whether to tackle it yourself or hire it out.
Check what you're dealing with first
Before you scrape anything, find out whether your ceiling is painted or unpainted, and whether it might contain asbestos. Homes built before the mid-1980s can have asbestos in ceiling texture. If your home is from that era, have a sample tested by a certified lab before you disturb it. Do not scrape, sand or spray an untested older ceiling. If the test is positive, removal is a job for a licensed abatement contractor, not a painter.
Next, do the water test. Mist a small patch of ceiling with a spray bottle and wait a few minutes. If the texture softens and starts to come away, it's unpainted and scrapes easily. If the water beads up or nothing happens, the ceiling has been painted, which makes removal slower and messier.
Prep the room like you mean it
Prep is where a clean job is won. Skipping it is how you end up with texture in the carpet for years.
- Clear the room of furniture, or pile it in the center under plastic.
- Cover the floors with plastic sheeting taped at the baseboards, then a layer of drop cloth on top for traction.
- Tape plastic up the walls to the ceiling line.
- Turn off power, then cover or remove light fixtures and vent covers.
- Wear eye protection, a proper dust mask or respirator, and a hat.
Scraping the texture
Work in small sections. Wet the ceiling lightly with a garden sprayer, let it soak in for 10–15 minutes, then scrape with a wide putty knife or a ceiling scraper. Keep the blade at a shallow angle and use light, even pressure. Gouging the drywall underneath creates extra patching work.
Don't drench the ceiling. Too much water can soften the drywall paper and cause stains or sagging. If the texture is stubborn, let it soak a little longer rather than adding more water.
On a painted popcorn ceiling, water doesn't soak in, so it takes more passes and more patience. Some painters use a dry scraping method with dust control, but it is messy work. This is one reason many homeowners call a pro.
Repair, skim and smooth
Once the texture is off, the ceiling will show seams, tape lines, nail pops and scrape marks. Now comes the finishing work:
- Let the ceiling dry completely, usually a day.
- Fill gouges and seams with joint compound.
- Skim-coat if the surface is rough. A thin coat over the whole ceiling gives the smoothest result.
- Sand lightly between coats, using a pole sander and keeping dust controlled.
- Wipe down the ceiling to remove dust.
Good lighting helps. A work light held flat against the ceiling shows every flaw, which is much better than finding them after the paint goes on.
Prime and paint
Bare joint compound is thirsty. Always prime first, or the paint will look patchy and flat in spots. After priming, roll on two coats of a flat ceiling paint, working in one direction and keeping a wet edge to avoid lap marks. Flat finishes hide small imperfections far better than anything with sheen.
If you want some texture instead of a flat ceiling, a light knockdown or orange-peel finish can be applied after skimming. It's more forgiving than smooth and is a popular middle ground.
DIY or hire a painter?
Doing one small bedroom yourself is realistic if the ceiling is unpainted and tested safe. Hiring out makes sense when:
- The ceiling is painted, or the room is large.
- You have high or vaulted ceilings that require scaffolding.
- You want a smooth, skim-coated finish with no visible seams.
- You don't want dust and debris through the house.
At JY Painting we handle popcorn ceiling removal, texture and surface restoration as part of our painting prep and finishing work, then follow with interior painting so the ceiling, walls and trim all match. Jonathan has been painting hands-on in the Twin Cities since 2011, and we serve Mounds View, Roseville, Fridley and the surrounding metro.
If you'd like a look at your ceilings and an honest recommendation, call (651) 207-2086 or request a free estimate through the site.