
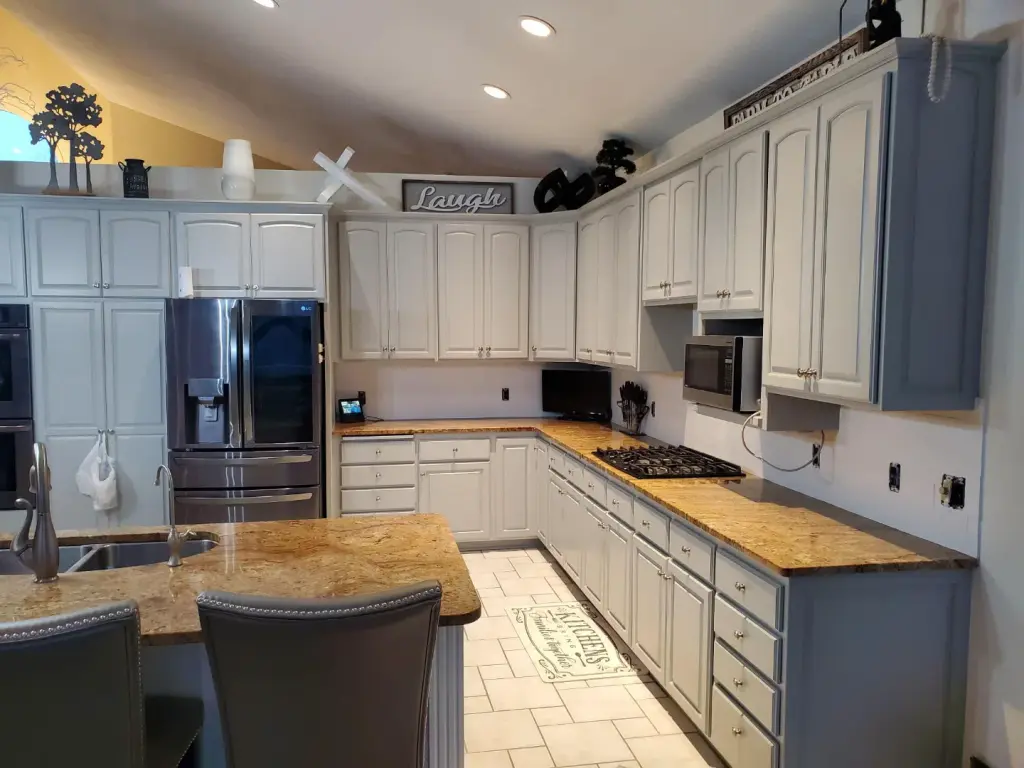
Cabinet painting is one of the most popular kitchen upgrades because it changes the whole room without a full remodel. Search for how to do it and you'll see a lot of "no sanding required" promises. Some of them have a point, but prep is still what separates a finish that lasts from one that chips in six months.
Why cabinets are hard to paint
Kitchen cabinets take more abuse than walls. They're touched constantly, exposed to grease and steam, and opened and closed hundreds of times a year. Most are also factory-finished with a slick, hard coating. Regular wall paint doesn't bond well to that, and it stays soft for weeks, so it scuffs and peels at the edges and around handles.
Does "no sanding" really work?
It can, with conditions. Bonding primers and liquid deglossers allow paint to stick to glossy surfaces without heavy sanding. That's fine in some cases, but there's a caveat:
- Deglossing and thorough cleaning are not optional. Cabinet surfaces collect kitchen grease you can't always see. Paint over it and it fails.
- A light scuff sanding still helps. Even with a bonding primer, a quick pass with fine sandpaper gives the coating more to grip.
- Damaged or bare wood needs proper prep. Dents, chips and raw edges must be filled, sanded and primed.
So the honest answer: you can skip heavy sanding, but you shouldn't skip the cleaning, deglossing and priming.
The process that gets a durable finish
- Remove doors, drawers and hardware. Label each door and its location so everything goes back correctly.
- Degrease. Clean every surface with a strong degreaser, rinse and let dry.
- Repair. Fill holes, dings and old hardware holes you won't reuse.
- Scuff and deglosses. Lightly sand or use a liquid deglosser.
- Prime. Use a bonding primer made for cabinets and trim.
- Paint. Apply two thin coats of a durable enamel, sanding lightly between coats.
- Cure. Let the paint cure before reinstalling the doors. Enamel can feel dry within hours but take days to fully harden.
Choosing the right paint
Look for a cabinet-grade enamel, such as a urethane-modified or waterborne alkyd enamel. These level out to a smooth finish and cure harder than standard wall paint. A satin or semi-gloss sheen is typical because it's easier to wipe clean.
Brush, roller or sprayer?
A sprayer gives the smoothest, most even finish with no brush marks, but it needs masking, ventilation and a controlled space. A fine foam roller and quality brush can give good results on a DIY job, but take more time to lay off carefully. Doors and drawers are best painted flat on a work surface so the paint doesn't run.
Common mistakes
- Painting without degreasing
- Skipping primer
- Applying paint thickly to save time, which causes drips and long cure times
- Rehanging doors too early, so they stick or mark
- Using wall paint instead of enamel
Should you hire it out?
If you've got a small kitchen and lots of patience, DIY can work. But cabinet refinishing is one of the more labor-intensive painting jobs, and finish quality shows, since cabinets are at eye level every day. A pro brings spray equipment, proper ventilation and a finishing process that's been done hundreds of times.
JY Painting offers cabinet refinishing and enamel finishes as one of its highlighted services, alongside interior painting and trim and woodwork. You can see some of our kitchen work in our project gallery. We serve Mounds View, Roseville, Minneapolis and the surrounding area. Call (651) 207-2086 for a free estimate.